Step-by-Step guide for installing a Turntable: a simple overview
When it comes to installing a turntable from West Coast Turntables (WCT), it’s essential to follow a clear and structured process. This ensures everything goes smoothly, the installation is secure, and the final result meets expectations.
Here’s an overview of the necessary steps in the installation of a WCT turntable.
Step 1: Site Preparation and Demolition
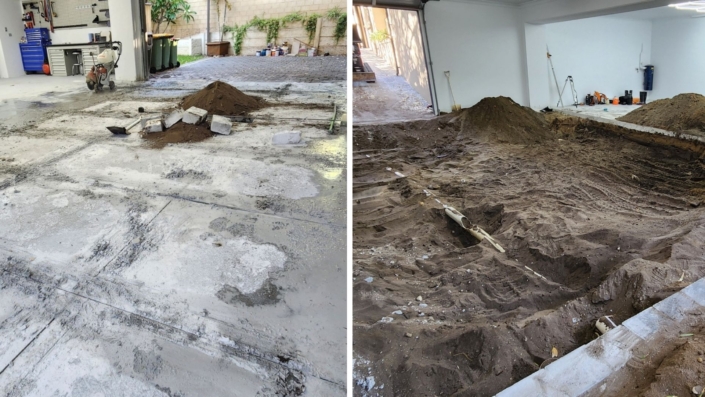
The first step of the installation involves preparing the site by demolishing the existing concrete slab. The concrete is carefully cut using a wet demo saw, allowing for controlled removal and minimizing disruption. Once the slab is removed, the space is opened up for further inspection and excavation.
After clearing the site, the pit must be excavated. The excavation should leave enough space around the slab perimeter to install the necessary formwork.
Step 2: Pouring the Raft Slab
Once the pit is excavated, the next step is to pour the raft slab. This slab must be poured to a specified height. A smooth finish is important to ensure proper drainage of water to the installed drainage points. This guarantees the turntable will operate optimally over time.
Step 3: Installing the Pit Wall Formwork
Next, the pit wall formwork is installed, following precise guidelines. This formwork helps shape the pit and creates a stable base for the turntable installation. Installing the formwork usually takes half a day, followed by pouring the concrete to finalize the process.
Step 4: Mechanical Installation of the Turntable
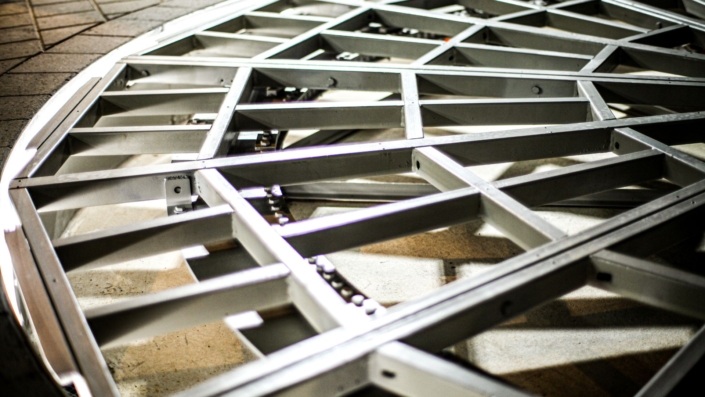
Once the concrete is dry, the turntable itself is installed. The mechanical installation can take one to two days, depending on site constraints and the model of the turntable.
Step 5: Installing the Finished Flooring
Depending on the model, the finished masonry flooring of the turntable and surrounding area is usually installed at the same time. For concrete finishes, the mason must determine the required preparations, ensuring the result is both functional and aesthetically pleasing.
Step 6: Installing the Control System
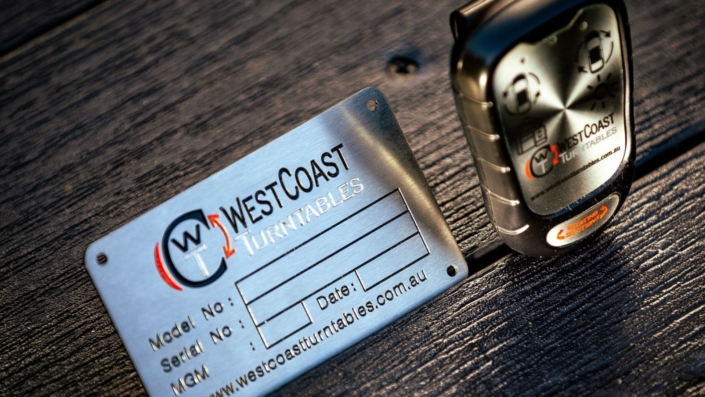
Finally, the control system is installed at the agreed location, typically on a nearby wall. A 1-phase 10A GPO socket is required, allowing the panel to be plugged directly. No dedicated power circuit is required, unless the builder prefers to install one. The control panel and motor conduit can either be recessed into the wall or surface-mounted, according to design specifications.
By following these steps, installing a WCT turntable is made simple, ensuring everything is correctly set up for optimal performance. For any questions or to clarify details, West Coast Turntables is always available to assist.

